Step-by-Step Guide to Propagating Indoor Plants

Chosen theme: Step-by-Step Guide to Propagating Indoor Plants. Multiply your favorite houseplants with clear, confidence-building steps, true-to-life anecdotes, and practical tips. Join the conversation, share your progress photos, and subscribe for monthly propagation challenges.

Propagate during active growth, typically spring through early summer, when hormones are surging and daylight supports fast recovery. A reader named Maya started her pothos in May and saw roots within two weeks, thanks to warm, bright, indirect light.

Start Right: Timing, Parent Plant Health, and Preparation

Select pest-free, well-hydrated plants with strong, flexible stems and several nodes. Avoid stressed or recently repotted specimens. A resilient mother plant passes on vigor, giving your cuttings a head start and fewer surprises during the rooting phase.

Start Right: Timing, Parent Plant Health, and Preparation

Water Propagation: Simple, Visible, and Beginner-Friendly

Find the Node and Make a Clean Cut

Cut just below a node, ideally at a slight angle for a fresh, generous surface. Remove lower leaves to keep foliage above water. Nodes are tiny growth hubs that reliably push out roots when submerged.

Set Up a Bright, Gentle Water Station

Use room-temperature, chlorine-free water in a clear jar and place it in bright, indirect light. Change water weekly to boost oxygen and reduce bacteria. In one community experiment, weekly changes cut failure rates nearly in half.

Track Milestones and Know When to Pot Up

Expect nubs in 7–14 days, then branching roots soon after. Pot up when roots reach 1–2 inches, still white and firm. Share your root-length brag on our next post and compare timelines with other plant lovers.

Soil Propagation: Strong Starts for Trickier Plants

Blend equal parts high-quality potting soil, perlite, and coco coir or bark. Pre-moisten until it clumps lightly without dripping. This airy balance supports oxygen around the cutting while holding steady moisture where roots initiate.

Leaf Propagation and Succulents: Tiny Leaves, Big Payoffs

Twist off a whole, healthy leaf, ensuring the base remains intact. Allow it to dry 24–72 hours until the wound seals. This callus acts like armor, drastically reducing rot in the earliest, most vulnerable days.
Set the leaf on top of a gritty mix of cactus soil and perlite, with the base touching the surface. Avoid deep burial, which traps moisture and invites rot. Tiny roots will search downward as new growth begins.
Mist lightly every few days until roots form, then water sparingly but deeply using bottom-watering to encourage downward growth. Keep light bright yet indirect. Tag us with your first succulent pup; celebration posts brighten everyone’s feed.

Division and Air Layering: Advanced, Reliable Methods

For snake plants, peace lilies, and ferns, unpot gently and tease apart natural clumps. Keep each division with viable roots and a few leaves. A careful split last autumn gave one reader three happy lilies that bloomed by spring.

Division and Air Layering: Advanced, Reliable Methods

On rubber trees or monsteras, make a small incision below a node, dust with hormone, wrap in moist sphagnum, and seal with plastic. Roots develop inside the moss, creating a transplant-ready section without losing the parent’s top growth.

Aftercare: From First Roots to Flourishing Plantlets

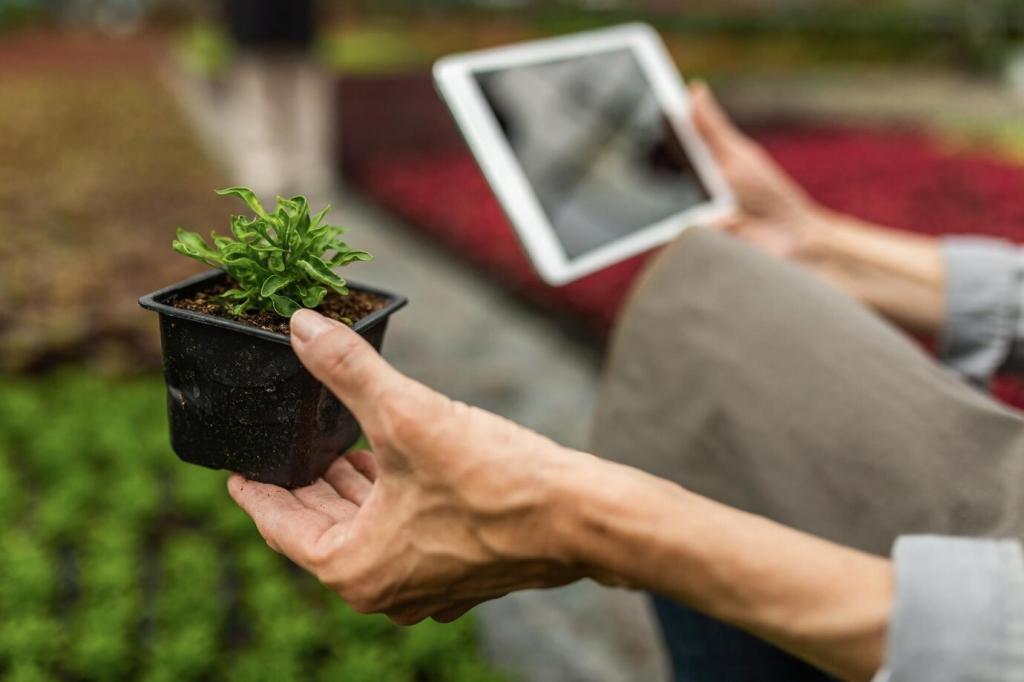
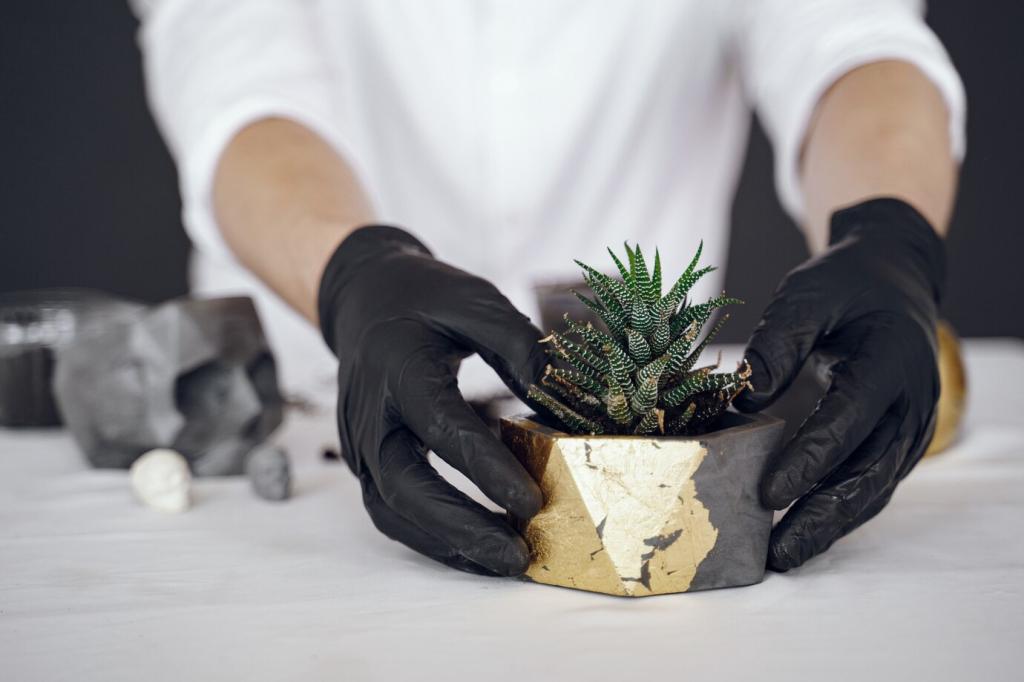
Transplant when roots are white, firm, and about 1–2 inches long. Choose a pot one size up with drainage. Water thoroughly, then let the top inch dry before the next drink to encourage strong, exploratory roots.

Aftercare: From First Roots to Flourishing Plantlets

If your cutting lived under a dome or plastic bag, open it a little more each day for a week. This gentle step-down helps leaves adapt to ambient humidity without wilting or dropping older, fragile foliage.

Troubleshooting: Rots, Stalls, and Curious Surprises

Stop Rot in Its Tracks

If stems turn mushy or brown, trim to healthy tissue and re-sterilize tools. Refresh water or soil, and consider a mild hydrogen peroxide rinse. Many readers salvage cuttings by acting within a day of spotting the first soft spot.

Kickstart Slow Rooting

Check light, warmth, and oxygen. Cool rooms and stagnant water slow everything. Recut below a fresh node, change water, or aerate the mix. Gentle bottom heat often cuts rooting time noticeably for finicky species.

Variegation, Reversion, and Sports

Variegated cuttings may root slower and sometimes revert to green under low light. Bright, indirect light helps maintain color. Share your most surprising sport or pattern; your story could be the nudge someone needs to try again.
Blissbuyershop
Privacy Overview

This website uses cookies so that we can provide you with the best user experience possible. Cookie information is stored in your browser and performs functions such as recognising you when you return to our website and helping our team to understand which sections of the website you find most interesting and useful.