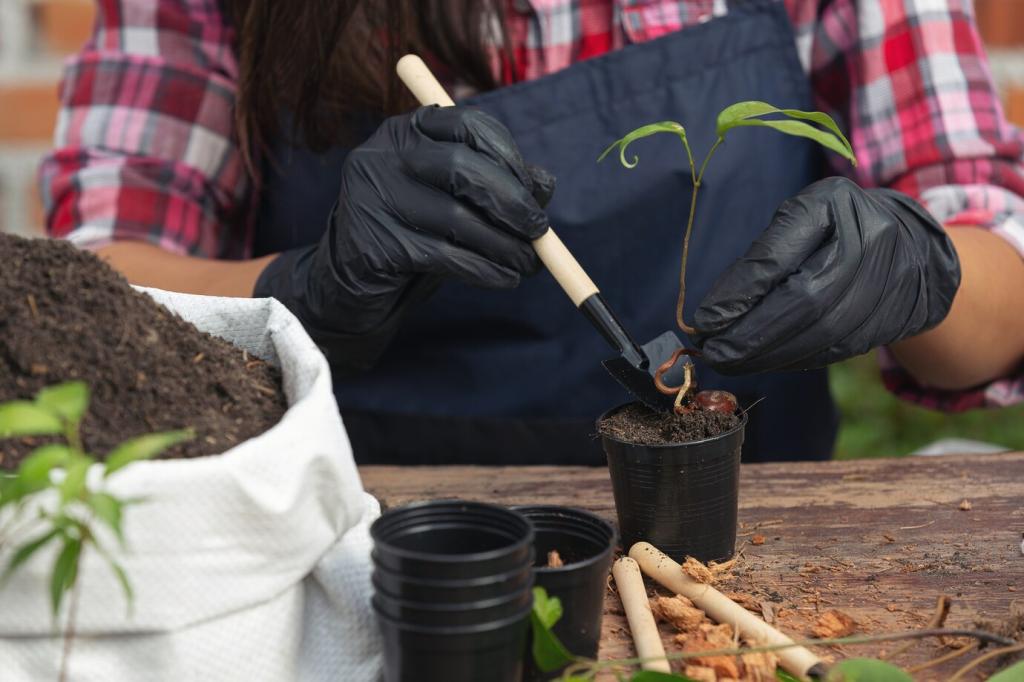
Leaf, Division, and Offset Methods
Let succulent leaves callus for a day or two, then place on lightly moist mix. For begonias, leaf sections with vein intersections root well. Share your propagation trays, and we will cheer each tiny rosette along.
Leaf, Division, and Offset Methods
Water the parent plant beforehand, then gently loosen roots and separate natural sections. Keep several roots per division. Repot firmly but not tightly. Comment with plant names you plan to divide for individualized spacing advice.